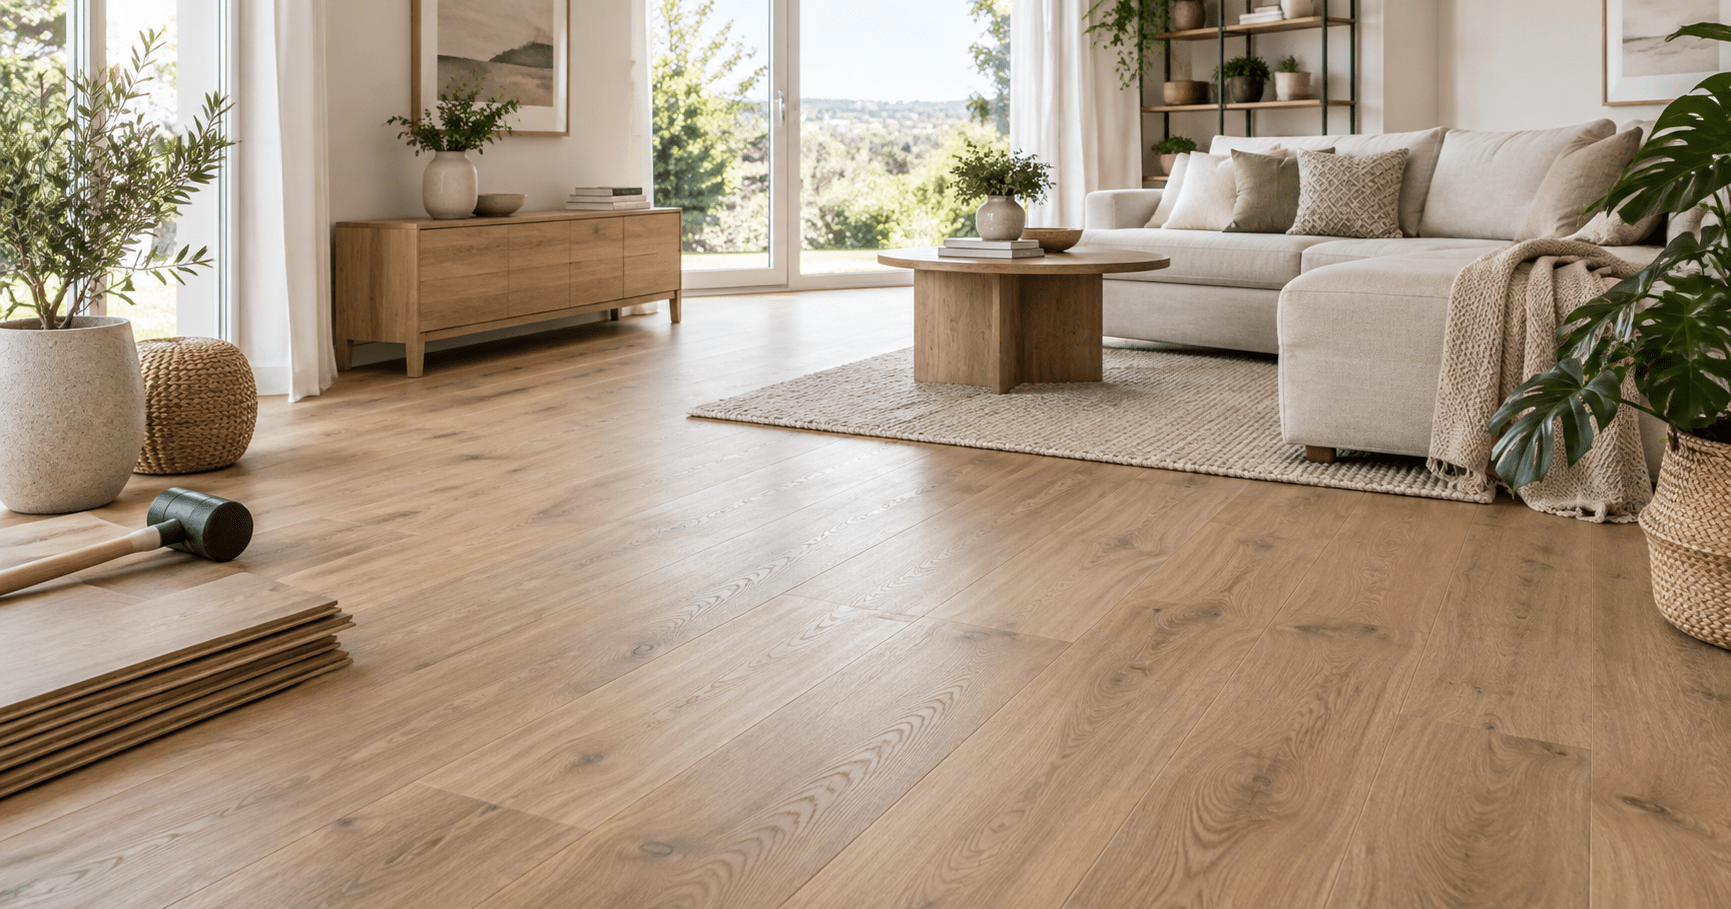
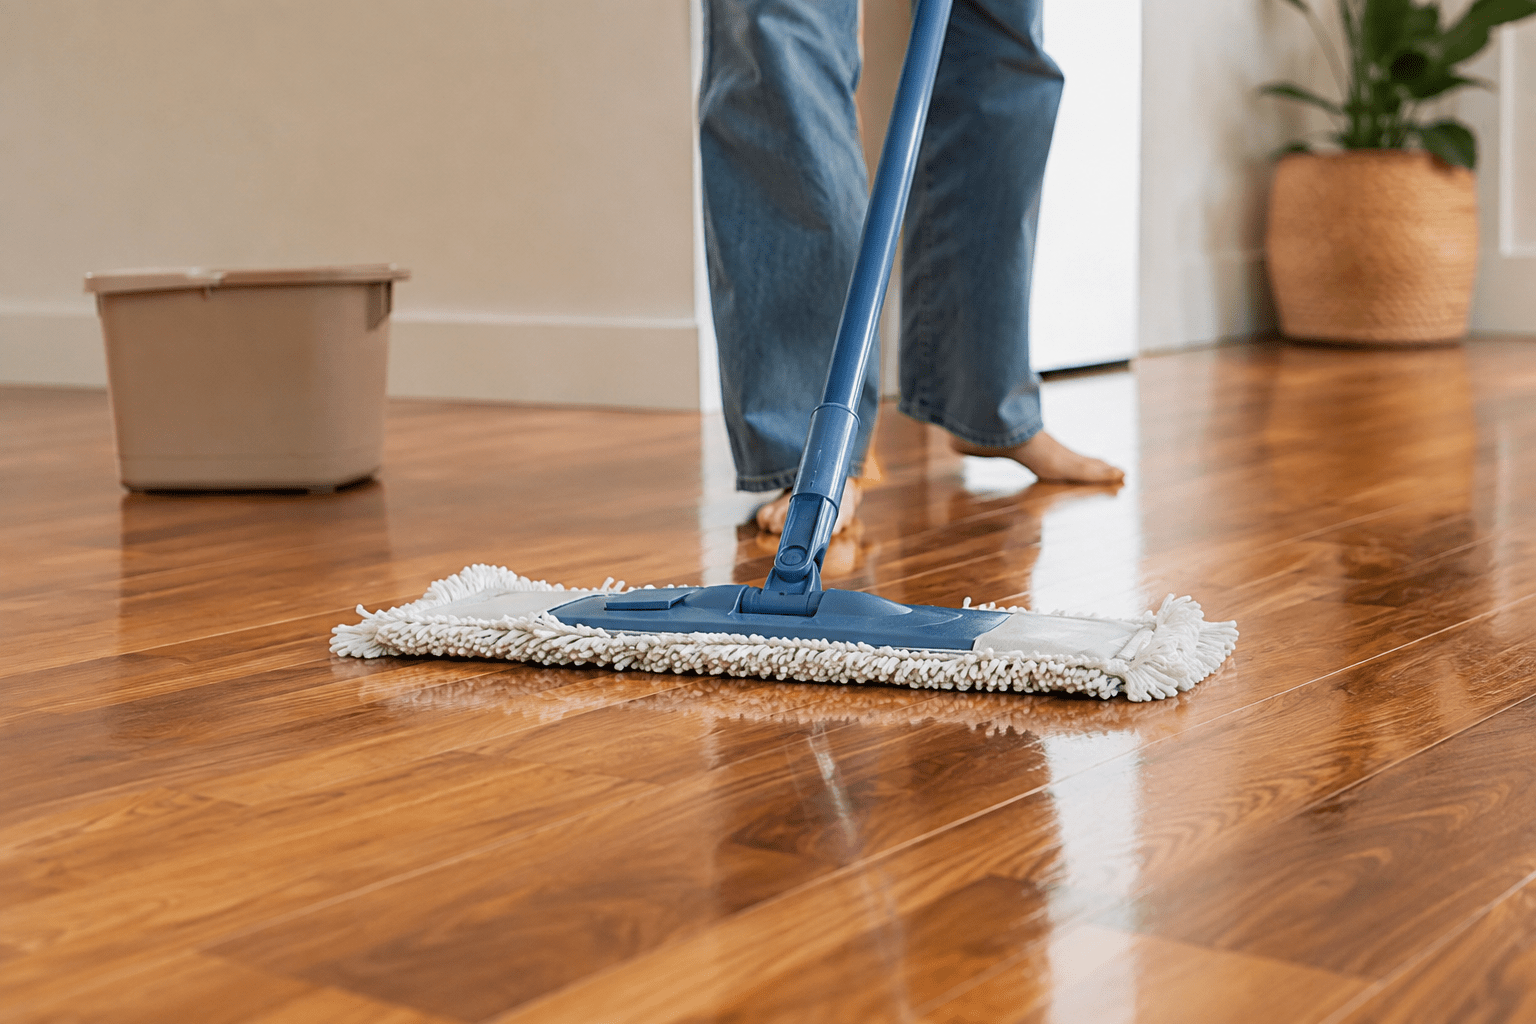
A properly installed hardwood floor will last for decades. If installed incorrectly, it will crack, warp, or develop gaps between the planks after just a few months. The difference isn’t due to the wood itself. It comes down to the subfloor, the moisture content, and the nailing method. Here’s how to install a hardwood floor without any unpleasant surprises, and the mistakes we see most often in showrooms.
Why choose hardwood?
Before getting into the technical details, you need to know what you’re getting into. Solid hardwood is unlike any other flooring.
Durability: It improves with time rather than going out
of style
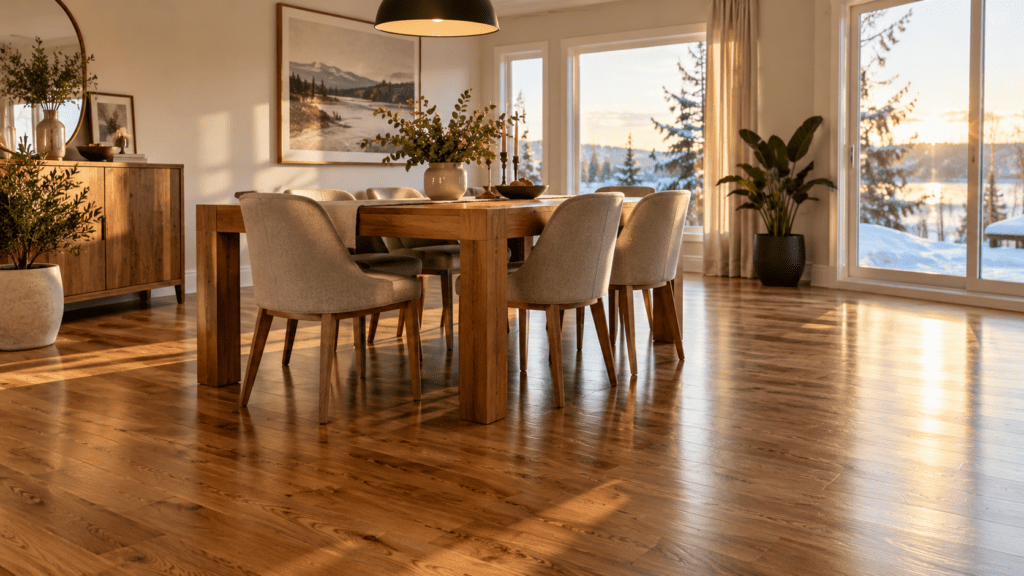
. A floor wears out. Solid hardwood, on the other hand, gains character. It’s one of the few flooring options that ages well rather than simply getting old. Oak, maple, cherry, walnut: each species has its own grain and color. You’re not just choosing a floor. You’re choosing the ambiance of the room for the next 20 years—and a floor that’s stain-resistant, easy to maintain, and just as durable as synthetic options.
Sanding: Refresh Instead of Replacing
The real difference isn’t apparent on installation day. It becomes clear in fifteen or twenty years, when the floor needs a refresh. A properly installed solid hardwood floor can be sanded and refinished several times over its lifetime. Rather than replacing a worn-out floor, you restore it. Few homeowners think about this at the time of purchase. Yet it’s often the deciding factor once you calculate the cost of a floor over 20 or 30 years.
Unique appearance: no two
planks are alike.
Hardwood is cut from a single piece of wood. Each plank therefore has its own grain, knots, and variations in color. This is exactly what imitation floors try to replicate without ever quite succeeding: a pattern that never repeats from one plank to the next. Your floor is one of a kind.
Comfort: warm and soft underfoot
Hardwood offers a level of comfort that ceramic tiles and hard-core surfaces simply can’t match. It feels softer underfoot, retains heat better, and provides some cushioning for footsteps. In a living room, bedroom, or dining room—rooms where people often walk barefoot—you’ll notice the difference every day.
Resale value: a selling point buyers look
for
The floor is one of the first things a buyer notices, and one of the last they forget. In a competitive real estate market, well-maintained hardwood flooring is among the most sought-after selling points. It conveys a sense of quality and durability that few materials can match. On the South Shore as elsewhere, it’s often what tips the scales in favor of one offer over another.
Hardwood vs. floating flooring: the former is nailed down, the latter floats
. The difference lies in the installation method, and it has a direct impact on the floor’s lifespan. Solid hardwood is nailed directly to the subfloor. The result: stability that’s hard to match, and a floor that can be sanded and preserved for decades.
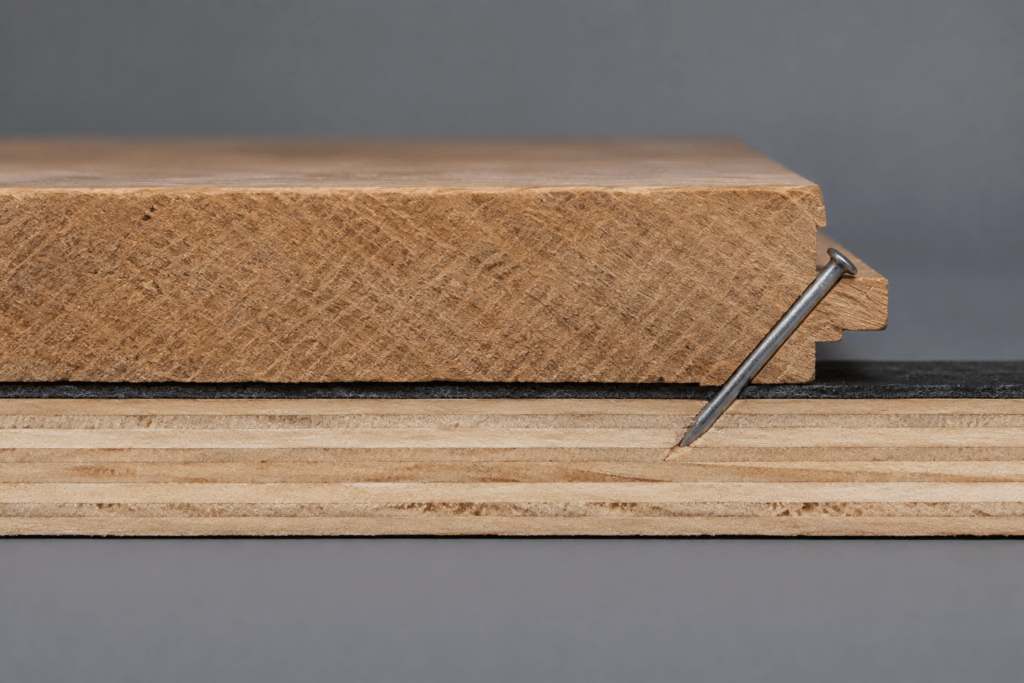
Laminate flooring, on the other hand, simply rests on an underlayment without being secured. Installation is faster and less expensive, but the long-term durability is incomparable. For a homeowner thinking about resale—or who wants a floor that will last for generations—solid hardwood remains the most durable choice.
Hardwood and the Basement
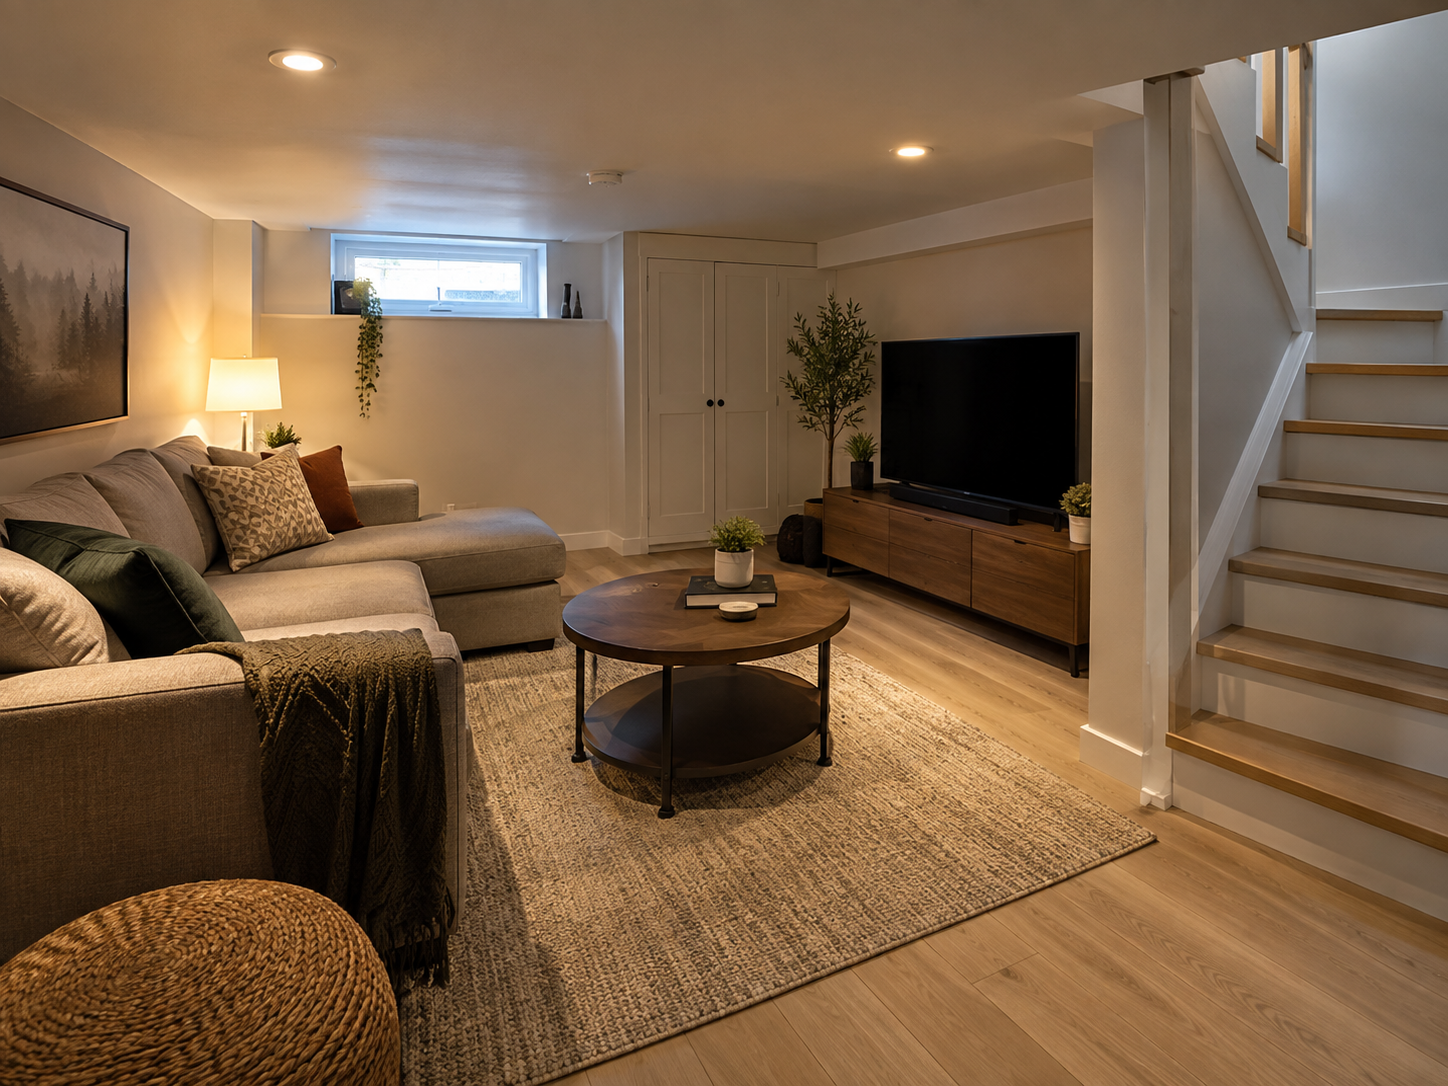
We see this all the time in showrooms. A couple falls in love with a hardwood floor, buys it, and then installs it in the basement. Six months later, the floor warps, and they have to start all over. Solid hardwood reacts strongly to moisture. However, a basement—even without apparent water damage—naturally releases residual moisture through the concrete slab. This is why installing solid hardwood in the basement is not recommended.
For this type of space, other materials hold up much better while still maintaining a warm, inviting look: luxury vinyl, waterproof SPC core flooring, or even epoxy concrete for a garage or unfinished basement.
How to Install Hardwood Flooring: Steps to Follow
Knowing how to install hardwood flooring starts with understanding what happens before you drive in the first nail. Steps 1 through 4 lay the groundwork, while steps 5 through 8 cover the installation itself. Each step sets the stage for the next.
Step 1—Inspect the Job Site
Before you even think about laying the first plank, three conditions must be met.
- The subfloor must be made of wood: Solid hardwood cannot be installed directly over concrete or cement, no matter how eager you are to see the finished result.
- The floor is installed last: In a new construction or major renovation, the doors and windows must already be installed, and the foundation must have been dry for at least two months. Concrete work, plumbing, drywall, and painting must also be complete.
- The indoor climate must be stable: The house must have been climate-controlled for at least one to two weeks prior to the work. Without this, the risk of instability rises rapidly.
- The room must be free of debris and construction residue, which can interfere with even installation.
Step 2—Allow the Wood to Acclimate
Hardwood must adjust to your home’s temperature and humidity levels before installation. Without this step, the wood may expand or contract once the floor is installed. Allow 48 to 72 hours for the wood to acclimate in the room where the floor will be installed. It’s a short time, but it’s what prevents unpleasant surprises a few months later.
Step 3 – Measure Humidity
Levels
A long-lasting installation starts with a clean, dry, and perfectly level subfloor. Irregularities that seem minor to the eye can cause creaking or uneven gaps over time.
As for moisture, the thresholds are precise. The subfloor’s moisture content must remain below 12%. The difference between the wood and the subfloor must not exceed 4%. For planks wider than 4 inches, this difference drops to 2%; the wider the plank, the more it moves in the event of an imbalance.
The wood’s ambient moisture content should be between 6% and 9%. The room itself must be maintained at around 20°C with relative humidity between 40% and 55%. Also plan to have 3% to 5% extra material on hand so you can set aside planks with visible defects without running out of wood along the way.
Good to know: Most flooring problems stem not from the wood itself, but from what lies beneath it.
Step 4—Cover the Subfloor and Sort the Boards
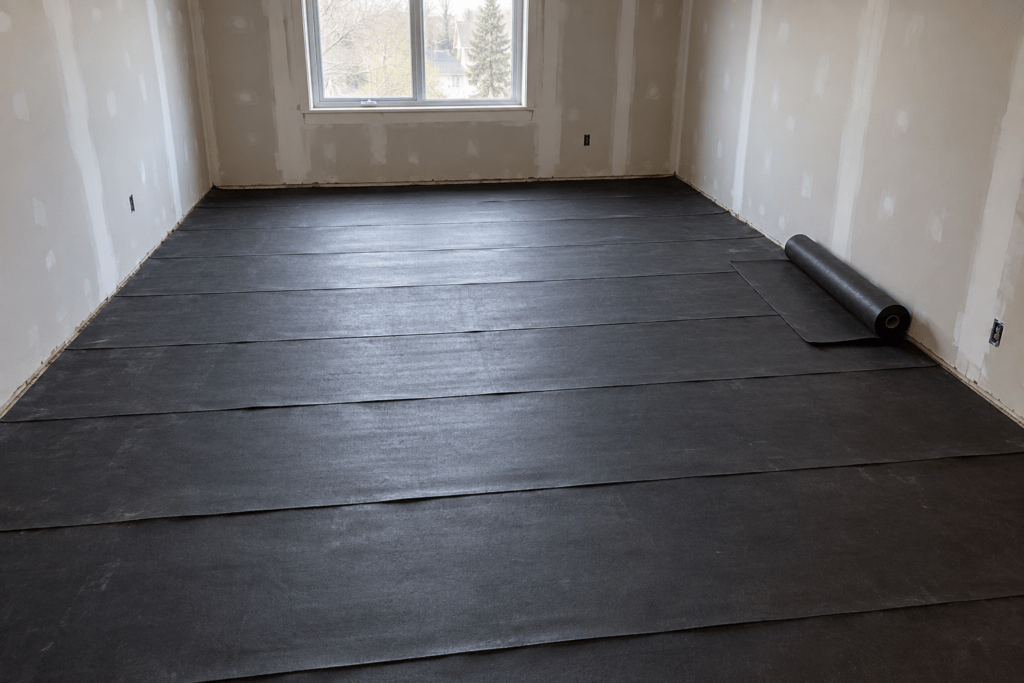
Before driving in the first nail, cover the subfloor with 15-lb. asphalt-coated paper or waxed paper designed for this purpose.
Next, open at least three boxes of flooring and select planks from each box alternately. This prevents color variations from being concentrated in one spot. Install the planks at a 90- or 45-degree angle to the joists, never in the same direction.
Also have a rubber mallet or a tapping block on hand: the planks are set with the mallet, not with arm strength.
Step 5—Mark the Starting
Line
First, locate the joists and mark their positions on the walls. The first row is installed against the longest wall, the one that is perpendicular to the joists.
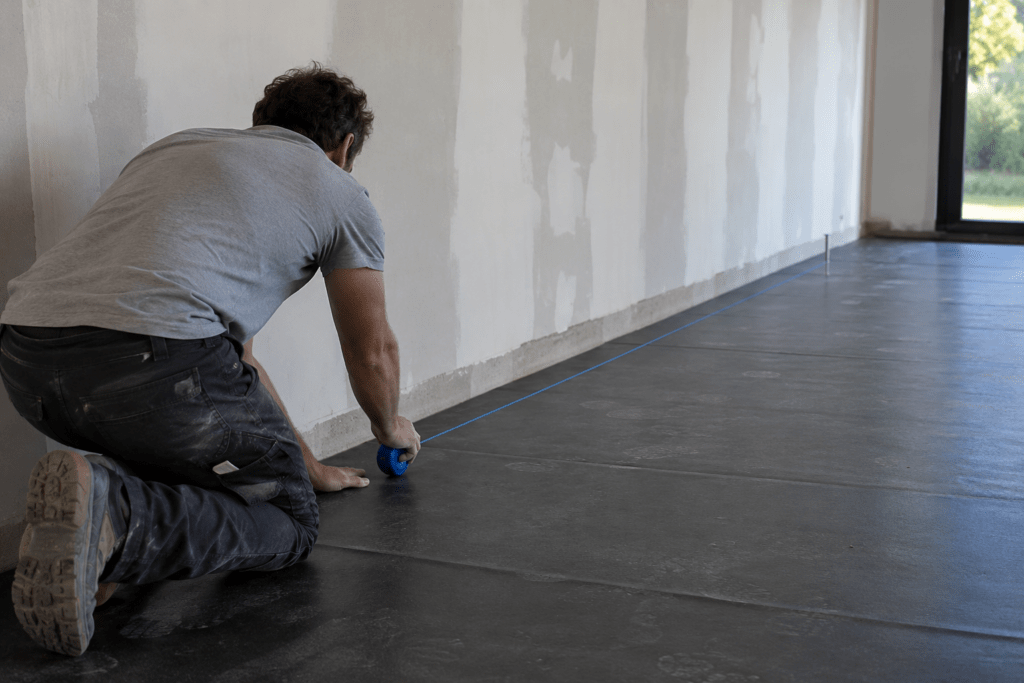
At each end of the wall, measure the width of one board and add three-quarters of an inch for the expansion joint. Drive a nail at each mark, then stretch a string between them: this is your starting line, parallel to the wall.
This gap is not optional. It allows the wood to expand and contract with the seasons. Use shims or spacer blocks to keep it consistent.
Step 6 – Lay the First Row
Align the first plank with the starting line, with the tongue side facing the wall. Secure it with wood or flooring nails: drive them diagonally into the tongue and straight across the top of the plank.
Make sure these surface nails will be hidden under the baseboards once they are installed. Then continue plank by plank, following the starting line, all the way to the side wall.
The rule of thumb: one nail every six to eight inches, and never fewer than two fasteners per plank. If you’ve chosen untreated wood, apply the finish—varnish, oil, or stain—after all the planks are laid.
Step 7—Nailing the Next Rows
Place the end of each plank against a quarter-inch shim. Drill pilot holes in the tongues, then drive the nails to secure the ends.
Starting with the second or third row, there is enough space between the wall and the board to use a floor nailer. Position the nailer so that the nail enters the tongue, then tap it with a hammer to drive it through the wood.
Always maintain this quarter-inch expansion gap between the end of the plank and the side wall.
Step 8 – Finish the Last Row
Near the opposite wall, there isn’t enough space for the edge nailer. Therefore, the last row is nailed using a pneumatic finish nailer from the floor surface.
Pre-drill the holes first, but wait until you’ve laid all the planks before nailing anything down. This leaves enough room for adjustments.
Finally, if you change the direction of the planks from one room to the next, a transition molding ensures a smooth connection.
The Cost of Hardwood
Floor Installation
The price varies depending on the width of the planks, the type of finish (unfinished or pre-finished), and the installation method. You’ll also need to budget for the subfloor, insulation membranes, stair nosings, adhesive, and other materials required for the job.
| Type of | |||
|---|---|---|---|
| WorkPriceHardwood or softwood 1 ¾ in., unfinished or pre-finished*Starting | at $3.95/sq. ft. | ||
| Hardwood or softwood 2 ¼ in., unfinished or pre-finished* | Starting at $3.45/sq. ft. | ||
| Hardwood or softwood 3 ¼ in., unfinished or pre-finished*Starting | at $2.95/sq. ft. | ||
| Hardwood or softwood 4 ¼ in., unfinished or pre-finished* | Starting at $2.95/sq. ft. | ||
| Glue-and-nail installation surcharge | Starting at $1.25/sq. ft. | ||
| Parquet | flooring** | Starting at $3.50/sq. ft. | |
| Floating flooring*** | Starting at $2.50/sq. ft. | ||
| Engineered flooring, single-glue**Starting | at $3.25/sq. ft. | ||
| Engineered | |||
| flooring | |||
| , double-glue**Starting | at $4.50/sq. ft. | ||
| Herringbone (herringbone) | **Starting at $10.00/sq. | ||
| ft. Plywood** | Starting at $2.50/sq. ft | ||
| .Insulation membranes**Starting | at $0.75/sq. ft.Screwing | ||
| down the subfloorStarting | at $1.00/sq. ft. | ||
| Stair nosing** | Starting at $15.00/linear footTrimming | ||
| the bottom of an MDF door | Starting at $50/doorTrimming | ||
| the bottom of a solid wood doorStarting | at $95/doorHourly rate | ||
| (labor not included) |
| $95/hour* |
Paper and materials not included
** Adhesive and materials not included
*** Underlayment and materials not included
These prices cover labor only. For an estimate tailored to your project, a formal quote is still the best way to get a clear picture.
Installing Hardwood Flooring Yourself or Hiring a Professional
How do you install hardwood flooring yourself? It’s possible, but the process requires precision and expertise.
DIY: possible, but mistakes are costly to fix
.
Installing your own floor requires a solid grasp of the techniques, the right tools, and an understanding of the properties of wood. Managing moisture, the direction of installation relative to the joists, and selecting planks for visual uniformity—the technical decisions add up quickly. And a mistake can be costly once the floor is covered with furniture and baseboards.
By a professional: installation done by the
book
A professional installer knows how to install hardwood flooring by the book, which reduces the risk of errors that compromise durability.The result is a polished, durable finish tailored to the actual conditions of your space: the room’s humidity level, the condition of the subfloor, and the direction of the joists. That’s what our flooring installation service covers.
L’Artisan Espace Design: The Hardwood Flooring Installation Expert on the South
Shore
We bring over 15 years of experience to every hardwood flooring project on the South Shore, from Brossard to Boucherville, including Longueuil and Saint-Hubert.
Our installers consult with you at every stage of the project. They work efficiently and cleanly to ensure your home remains safe throughout the entire process. Our team assesses your subfloor, prepares the necessary environmental conditions, and ensures a result that will stand the test of time.
Still undecided between two wood species? Want to know if your subfloor can support solid hardwood? Come see us.
Our showroom is located at 8255A Taschereau Boulevard in Brossard. You can also request a quote online: we’ll assess your project and get back to you with a detailed, no-obligation estimate.