Le plancher vinyle SPC (Stone Polymer Composite) est devenu le revêtement de sol le plus populaire sur la Rive-Sud, et c’est pas ben ben surprenant. Imperméable, résistant, facile à entretenir, et avec un aspect visuel qui imite le bois ou la pierre à s’y méprendre, c’est une option qui fait vraiment du sens pour les propriétaires de Brossard, de Longueuil ou de Saint-Lambert qui veulent un beau plancher sans se casser la tête.
La bonne nouvelle, c’est que le pose plancher vinyle SPC peut se faire en bricolage par un propriétaire habile. La mauvaise nouvelle, c’est qu’une installation mal faite peut causer des problèmes : soulèvements, jours entre les planches, bruits de craquement. Dans ce guide complet, on vous explique tout, étape par étape, pour que votre projet de pose sur la Rive-Sud soit une réussite.
Et si vous préférez confier l’installation à des pros, notre équipe chez L’Artisan Espace Design est là pour vous ! On offre un service de pose professionnel sur toute la Rive-Sud, de La Prairie à Saint-Lambert.
Qu’est-ce que le plancher vinyle SPC et pourquoi est-il si populaire sur la Rive-Sud ?
Le SPC, c’est une évolution du vinyle de luxe traditionnel (LVP). Le cœur rigide en composé de polymère et de pierre lui donne une stabilité dimensionnelle exceptionnelle, ce qui est vraiment important dans le contexte climatique québécois. Contrairement aux anciens vinyles souples qui pouvaient gondoler avec les changements de température, le SPC reste stable même avec les écarts thermiques importants qu’on vit sur la Rive-Sud entre nos étés chauds et nos hivers froids.
Un plancher SPC de qualité se compose de 4 à 5 couches : une couche de base en liège ou mousse (pour le confort acoustique), le cœur rigide en SPC, une couche de vinyle imprimé avec le motif décoratif, et une couche d’usure transparente protectrice. C’est cette dernière couche qui détermine la durabilité du produit : pour un usage résidentiel intensif, une couche d’usure de 20 mil (0,5 mm) est le minimum recommandé.
Disponible en formats classiques (planches longues imitant le bois) ou en carreaux (pour un effet pierre ou béton), le plancher vinyle SPC s’installe en pose flottante avec un système de clips (clic), sans colle ni clou. C’est pour ça que la pose est accessible aux bricoleurs : pas besoin d’équipement spécial ni de compétences particulières en menuiserie.
Les outils nécessaires pour poser un plancher SPC sur la Rive-Sud
Avant de commencer, assurez-vous d’avoir tout le matériel en main. Il n’y a rien de plus frustrant que d’avoir commencé l’installation et de réaliser qu’il manque un outil !
- Scie circulaire ou scie à onglet (pour les coupes droites et les coupes d’angle)
- Scie sauteuse ou scie à main (pour les coupes autour des obstacles comme les tuyaux)
- Niveau à bulle ou niveau laser
- Mètre ruban et équerre
- Maillet en caoutchouc et cale de montage (tapping block)
- Tire-fondou barre à plancher (pour la dernière rangée)
- Crayon ou feutre marqueur
- Aspirateur industriel
- Genouillères (votre dos va vous remercier !)
- Cales d’espacement (minimum 8 mm pour le joint de dilatation)
Étape 1 : Préparer le sous-plancher
La préparation du sous-plancher est l’étape la plus importante et, malheureusement, celle que beaucoup de bricoleurs négligent. Un sous-plancher mal préparé, c’est la recette pour un plancher SPC qui craque, qui gondole ou qui présente des irrégularités visibles.
Commencez par inspecter soigneusement votre sous-plancher. S’il est en béton (ce qui est souvent le cas dans les sous-sols de la Rive-Sud), vérifiez qu’il est propre, sec et plan. Une tolérance de 3 mm (1/8 po) sur 2 mètres (6 pi 7 po) est généralement acceptée. Au-delà, il faudra utiliser un auto-nivelant pour corriger les irrégularités.
S’il s’agit d’un sous-plancher en contreplaqué (bois), vérifiez qu’il est solidement vissé, sans planches qui bougent ou qui font des bruits de craquement. Tout trou ou défaut doit être comblé avec du mastic à bois avant la pose.
Vérification de l’humidité
Sur la Rive-Sud, l’humidité est un facteur critique, surtout pour les sous-sols. Un excès d’humidité dans le béton peut compromettre l’adhérence et la durabilité de votre plancher SPC. Utilisez un hygromètre ou un test d’humidité au carbure pour vous assurer que le taux d’humidité du béton est inférieur à 85 % (HR). Si le taux est plus élevé, une membrane de vapeur sera nécessaire.
Étape 2 : Acclimatation du plancher SPC
Même si le SPC est moins sensible aux variations d’humidité que le bois, il est quand même recommandé de laisser les boîtes de plancher s’acclimater dans la pièce pendant 48 heures avant la pose. La température de la pièce doit être entre 18 °C (64,4 °F) et 27 °C (80,6 °F). Cela permet au matériau de s’adapter à la température et à l’humidité ambiante de votre maison sur la Rive-Sud.
Stockez les boîtes à plat ou debout, sans les empiler de manière à créer une pression sur les planches. Pendant l’acclimatation, gardez le chauffage ou la climatisation à leur niveau normal.
Étape 3 : Planifier la disposition des planches
Avant de poser la première planche, prenez le temps de planifier la disposition. La règle d’or : les planches doivent être parallèles au mur le plus long ou à la source de lumière principale (généralement les fenêtres). Cela donne une impression de profondeur et valorise visuellement l’espace.
Mesurez la largeur de la pièce et divisez-la par la largeur d’une planche pour calculer la largeur de la dernière rangée. Si cette dernière rangée fait moins de 5 cm (2 po), réduisez la largeur de la première rangée pour équilibrer les deux côtés.
N’oubliez pas de prévoir les joints de dilatation : minimum 8 mm (5/16 po) entre le plancher et tous les murs, les seuils de porte, et tout obstacle fixe. Le SPC, même rigide, a besoin de cet espace pour se dilater légèrement lors des changements de température.
Étape 4 : Commencer la pose — La première rangée
La première rangée est la plus importante : elle détermine l’alignement de tout le reste. Placez les cales d’espacement contre le mur de départ pour maintenir le joint de dilatation de 8 mm (5/16 po), puis posez la première rangée de planches, la languette tournée vers le mur.
Utilisez le maillet et la cale de montage pour assembler les planches sans endommager les bords. Pour couper la dernière planche d’une rangée, mesurez l’espace restant moins 8 mm (5/16 po) pour le joint de dilatation, marquez la coupe, et utilisez la scie.
Conservez le morceau coupé s’il fait plus de 30 cm (11,8 po). Il servira à commencer la rangée suivante, ce qui permettra de décaler les joints longitudinaux d’au moins 30 cm (11,8 po) entre les rangées.
Étape 5 : Pose des rangées suivantes
Pour chaque rangée, insérez d’abord l’extrémité courte de la nouvelle planche dans la planche précédente, puis inclinez légèrement la planche et faites glisser la languette longue dans la gorge de la rangée précédente. Un coup de maillet léger sur la cale de montage permet de verrouiller les clips en place.
Vérifiez régulièrement avec votre niveau et votre mètre ruban que les rangées restent droites et que les joints de dilatation sont maintenus. Si vous remarquez une dérive, corrigez-la immédiatement plutôt que de continuer et de vous retrouver avec un plancher de travers au bout de la pièce.
Décalez les joints longitudinaux d’au moins 30 cm (11,8 po) (idéalement 40 cm) entre les rangées adjacentes. Cela donne un aspect plus naturel et distribue mieux les contraintes mécaniques.
Étape 6 : Coupes spéciales et obstacles
Les portes, les tuyaux, les coins rentrants et saillants demandent des coupes spéciales. Pour les tuyaux, percez un trou légèrement plus grand que le diamètre du tuyau (environ 5 mm de plus), puis faites une coupe droite jusqu’au trou pour pouvoir passer la planche. Cachez la coupe avec un anneau de finition décoratif.
Pour les encadrements de porte, utilisez une petite scie pour couper légèrement le bas du cadre afin de faire passer le plancher dessous. Glissez un morceau de plancher sous le cadre pour vérifier que la coupe est suffisante.
Étape 7 : La dernière rangée et les finitions
La dernière rangée est souvent la plus délicate. Mesurez l’espace restant, soustrayez 8 mm (5/16 po) pour le joint de dilatation, et coupez les planches dans le sens de la longueur à l’aide de votre scie circulaire. Utilisez la barre à plancher pour clipper la dernière rangée en place sans endommager le mur.
Une fois la pose terminée, retirez toutes les cales d’espacement. Installez les plinthes ou les moulures de quart-de-rond pour couvrir les joints de dilatation sur tout le pourtour de la pièce. Les plinthes doivent être fixées au mur et non au plancher, pour ne pas bloquer la dilatation.
Pour les transitions entre pièces ou entre différents types de revêtements, utilisez des profilés de transition adaptés (T-moulding, réducteur ou quart-de-rond selon le cas).
L’Artisan Espace Design sur la Rive-Sud : la pose professionnelle, c’est notre affaire
Ben oui, on sait que tout le monde n’a pas envie de se mettre à genoux sur le plancher pendant deux jours ! C’est pour ça que chez L’Artisan Espace Design, on offre un service de pose de plancher vinyle SPC professionnel sur toute la Rive-Sud, de Brossard à La Prairie.
Notre équipe d’installateurs est formée sur les dernières techniques de pose et connaît les particularités des maisons de la région : sous-sols béton, planchers inégaux, espaces complexes. On s’occupe de tout, de la préparation du sous-plancher à la pose des moulures finales, pour que vous ayez un résultat impeccable sans vous stresser.
Vous pouvez venir choisir votre plancher dans notre salle montre à Brossard, voir les échantillons en vrai, et repartir avec une soumission complète pour votre projet. /services/pose-plancher/
FAQ — Pose de plancher vinyle SPC sur la Rive-Sud
1. Le plancher vinyle SPC convient-il pour un sous-sol sur la Rive-Sud ?
Oui, c’est même l’un des meilleurs choix pour le sous-sol. Le SPC est imperméable (contrairement au bois) et très résistant aux variations d’humidité qui sont fréquentes dans les sous-sols québécois. Assurez-vous tout de même que le béton est bien sec et que le taux d’humidité est acceptable avant la pose.
2. Faut-il une membrane de sous-couche avec le vinyle SPC ?
Beaucoup de planchers SPC haut de gamme viennent avec une membrane acoustique (liège ou mousse IXPE) préinstallée. Si c’est le cas, aucune sous-couche additionnelle n’est requise, car une double couche d’amortissement peut nuire à la stabilité des clips. Si votre plancher n’a pas de membrane préinstallée, une fine membrane acoustique de 1 à 2 mm (0 po à 1/16 po) peut être ajoutée pour réduire les bruits d’impact.
3. Peut-on poser du SPC par-dessus un ancien plancher ?
Oui, dans plusieurs cas. Le SPC peut être posé par-dessus du carrelage (si les joints ne sont pas trop profonds), du béton, ou du contreplaqué. Il ne faut pas poser sur un plancher en vinyle souple épais (plus de 3 mm) ou sur un plancher chauffant dont la compatibilité n’a pas été vérifiée.
4. Combien de temps dure une installation de plancher vinyle SPC ?
Pour un bricoleur expérimenté, comptez environ 8 à 10 heures pour 100 pieds carrés (environ 9 m²). Une pièce standard de 12 x 14 pieds peut prendre une journée complète. Pour un professionnel, le temps est généralement réduit de moitié.
5. Quelle épaisseur de SPC recommandez-vous pour la Rive-Sud ?
Pour un usage résidentiel standard, une épaisseur totale de 6 mm (1/4 po) avec une couche d’usure de 20 mil est un bon minimum. Pour les zones à fort trafic ou les maisons avec des animaux, visez 8 mm (5/16 po) d’épaisseur totale et 28 mil de couche d’usure. Pour le sous-sol, la présence d’une membrane acoustique intégrée est un plus.
6. Le plancher SPC est-il compatible avec le plancher chauffant ?
Oui, à condition de choisir un produit certifié pour le chauffage radiant. Vérifiez que la température maximale du plancher ne dépasse pas 27-28 °C (80,6 °F à 82,4 °F) (selon les recommandations du fabricant). Notre gamme chez AED inclut plusieurs produits SPC compatibles avec les systèmes hydronique et électriques.
7. Comment nettoyer un plancher vinyle SPC après la pose ?
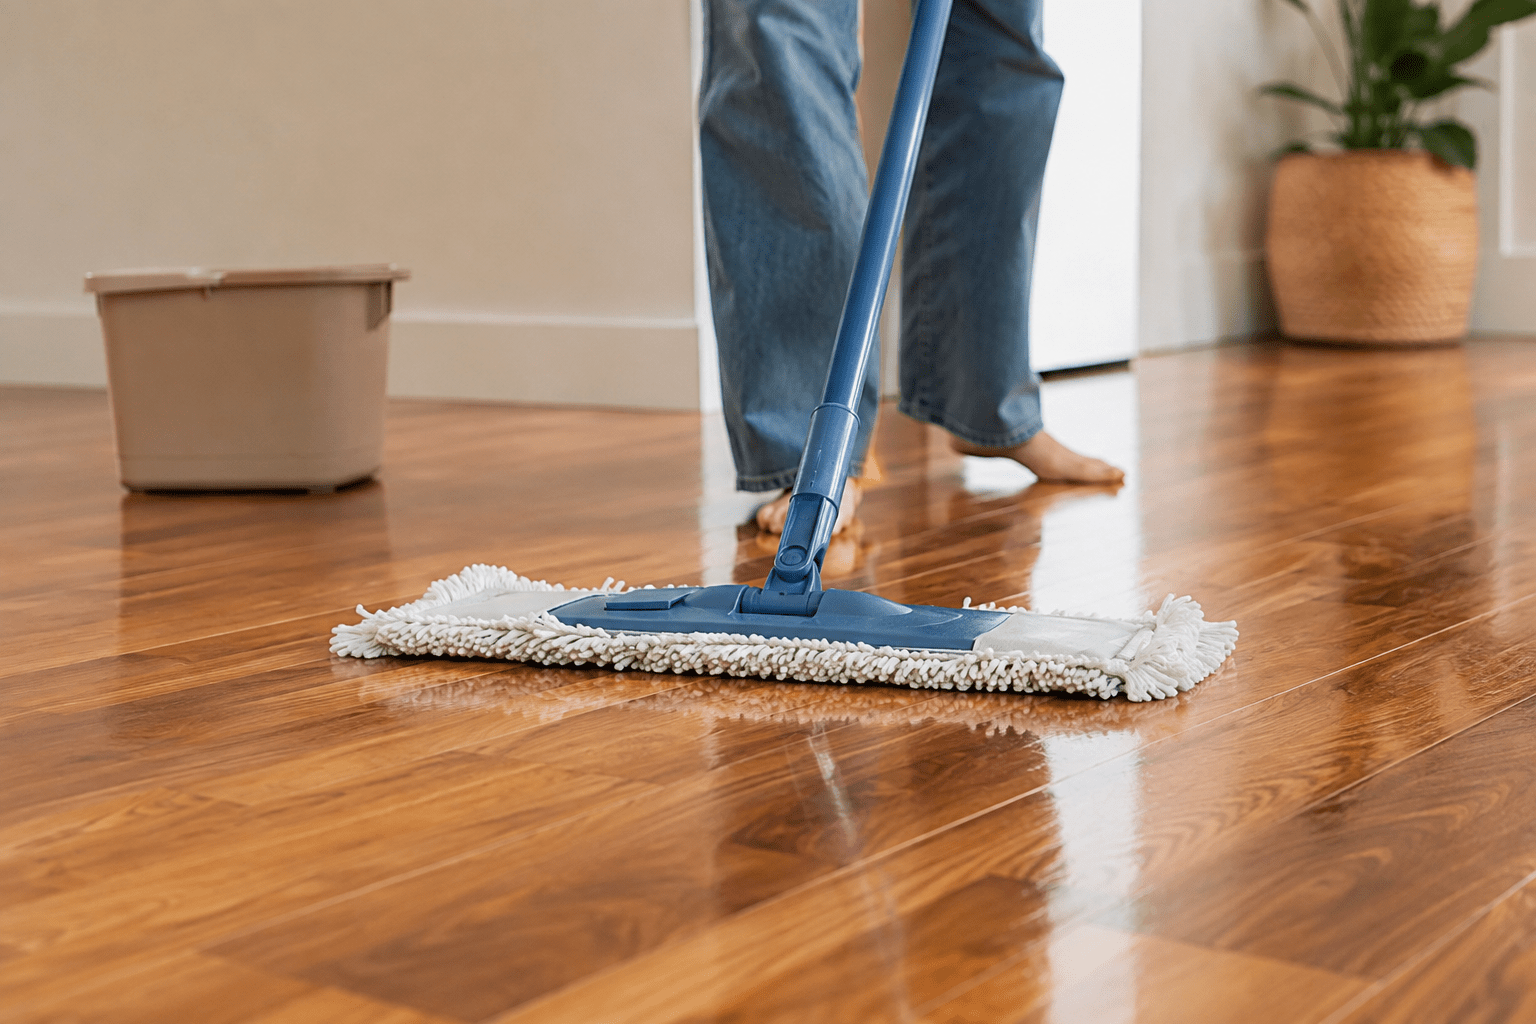
Attendez au moins 24 heures avant le premier nettoyage. Utilisez un aspirateur ou un balai pour enlever la poussière de découpe, puis une vadrouille humide (essorée, pas trempée) avec un nettoyant neutre. Évitez les produits abrasifs, les cires et les nettoyants à vapeur qui peuvent endommager la couche d’usure.
8. Est-ce que le SPC peut être posé en diagonale ?
Techniquement oui, mais c’est une technique avancée qui génère beaucoup de coupes et de pertes de matériel (jusqu’à 20 % supplémentaires). La pose en diagonale est rarement recommandée pour un premier projet en bricolage. Si vous voulez un effet visuel différent, consultez plutôt notre équipe chez AED.
9. Combien de paquets de plancher dois-je acheter ?
Calculez la superficie de la pièce (longueur x largeur en pieds carrés), puis ajoutez 10 % pour les coupes et les pertes. Si votre pièce a beaucoup d’angles ou si vous posez en diagonale, montez plutôt à 15 %. Les planchers SPC se vendent généralement en boîtes de 20 à 25 pieds carrés.
10. Peut-on réparer une planche SPC endommagée après la pose ?
Oui, et c’est l’un des grands avantages de la pose flottante. Contrairement au plancher collé ou cloué, une planche SPC endommagée peut être retirée et remplacée sans tout défaire. Il suffit de démonter les planches jusqu’à celle endommagée, de la remplacer, et de remonter. C’est pour ça qu’il est toujours recommandé de garder quelques planches supplémentaires après la pose.
11. Quelle est la durée de vie d’un plancher vinyle SPC de qualité ?
Un plancher SPC de bonne qualité (couche d’usure de 20 mil et plus) peut durer entre 15 et 25 ans en usage résidentiel normal. La durée de vie dépend surtout de la qualité de la couche d’usure, de l’entretien régulier, et de l’utilisation (nombre de personnes, présence d’animaux, etc.). La garantie fabricant est un bon indicateur : cherchez au minimum 25 ans pour un usage résidentiel.
12. Quel est le coût moyen de pose d’un plancher vinyle SPC sur la Rive-Sud en 2026 ?
En 2026, le coût de pose professionnel d’un plancher vinyle SPC sur la Rive-Sud varie entre 2 $ et 4 $ par pied carré (main-d’œuvre seulement), selon la complexité de la pièce et la préparation requise. Le coût total (matériel + pose) se situe généralement entre 6 $ et 12 $ par pied carré pour un plancher SPC de qualité intermédiaire à haut de gamme. Contactez L’Artisan Espace Design pour une soumission précise basée sur votre projet spécifique.
Prêt à transformer vos planchers ? Venez découvrir notre sélection de planchers vinyle SPC dans notre salle montre à Brossard, ou contactez-nous pour une soumission gratuite à domicile.
Vous avez un projet de plancher sur la Rive-Sud ? Demandez une soumission gratuite à l’équipe d’L’Artisan Espace Design.